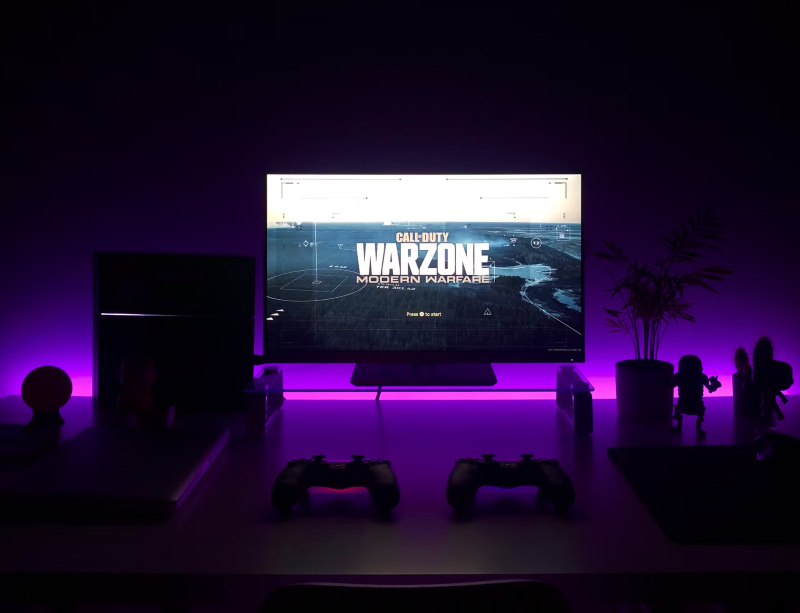
In Warzone 3, tactical equipment can be the difference between winning and losing. Most players overlook these game-changing tools, focusing only on their primary weapons. The right tactical equipment used at the perfect moment can completely shift the momentum of a fight, creating opportunities that guns alone cannot provide.
The tactical stance feature introduced in Modern Warfare III adds another layer to your gameplay. When combined with equipment like stuns or smokes, it allows for quick reactions and strategic positioning. Many top players always have a tactical plan that incorporates these tools into their overall strategy.
Your playstyle should dictate which tactical equipment you choose. Aggressive players might prefer stuns for pushing buildings, while strategic players often use smoke grenades to reposition or revive teammates safely. Remember that tactical equipment isn’t just for offensive plays—it’s equally valuable for defensive situations and creating space in the fast-paced battle royale environment.
Understanding Tactical Equipment Basics
Tactical equipment can make or break your success in Warzone 3, and with professional gaming advantage, you’ll naturally master their use to gain critical advantages in combat situations.
Types of Tactical Equipment
Tactical gear in Warzone 3 offers various strategic advantages. Flash grenades temporarily blind enemies, giving you precious seconds to rush or reposition. Stun grenades slow enemy movement and aim, making them easy targets.
Heartbeat Sensors detect nearby enemies who aren’t using Ghost perk, showing their location on a small radar. This is crucial for checking buildings before entering.
Gas grenades create a cloud that damages and disorients enemies, perfect for flushing out campers or creating cover for revives.
Stim shots instantly heal you and boost your tactical sprint, ideal for quick escapes or aggressive pushes. Snapshot grenades reveal enemy positions through walls, excellent for confirming suspicions about occupied buildings.
Effective Loadouts and Attachments
Your tactical equipment should complement your weapon loadout. Rushing with SMGs? Stims or stuns work perfectly. Sniping from a distance? Heartbeat sensors help protect your position.
Custom loadouts should balance your primary weapon, secondary option, and tactical gear. Using Overkill lets you carry two primary weapons, but sacrifices perks that might enhance your tactical equipment effectiveness.
Consider these weapon attachments when planning tactical play:
- Muzzle: Suppressors keep you off the radar during tactical maneuvers
- Optics: Clear sights for quick target acquisition after using tactics
- Rear Grip: Improves ADS time for following up tactical advantages
Strategic Gear Selection
Choose tactical equipment based on your playstyle and team composition. Solo players benefit from information-gathering tools like Heartbeat Sensors, while team players might prefer disabling equipment like stuns or flashes.
Always coordinate tactical selections with teammates. Having everyone run the same equipment wastes potential advantages. Instead, divide roles: one player with stuns for pushing, another with a heartbeat for intel.
Armor plates and Gas Masks are essential passive gear that complements your tactical equipment. Always keep full armor before engaging, and position Gas Masks for easy access during final circles.
Field Upgrades like Munitions Box can resupply your tactical equipment mid-game, extending your strategic options in longer matches. This resupply ability can be the difference between victory and defeat in the final circles.
Advanced Tactical Maneuvers
Taking your tactical game to the next level requires mastering movement, using your equipment at the right time, and working seamlessly with your team. These skills separate average players from those who consistently reach the final circle.
Movement and Cover Techniques
Mastering the Tactical Stance is a game-changer in Warzone 3. It gives you better accuracy than Hipfire while maintaining mobility. Use it when clearing buildings or during close-quarter fights.
Always move with purpose. Random sprinting makes you an easy target. Instead, plan your routes between cover points before moving.
Cover-to-cover movement should become second nature. Identify your next position before leaving safety, and use tactical sprint for quick dashes between cover.
When under fire, use sliding to quickly change direction and break enemy aim. Combine this with jumping around corners to make yourself harder to hit.
Positioning is everything. The high ground gives you visibility and an advantage in gunfights. Always try to hold elevated positions when possible.
Efficient Use of Killstreaks and Field Upgrades
UAVs are most effective when timed properly. Use them before pushing a new zone or when you suspect enemies are nearby but unsure of their exact location.
Save your Dead Silence for aggressive pushes or flanking maneuvers. The speed boost and silent movement can catch enemies off guard.
Spotter Scope is underrated for reconnaissance. Use it to scan areas before moving in, marking enemies for your team without giving away your position.
Field Upgrades should complement your playstyle. If you’re aggressive, prioritize Munitions Box for ammo resupply. If defensive, Trophy Systems protects your position.
Don’t waste killstreaks on single enemies. Save them for situations that can change the game, like clearing a building with multiple squads.
Communication and Teamwork
Clear callouts win games. Use compass directions and landmarks: “Enemy team at 240, blue building, second floor.” Specificity saves lives.
Coordinate your tactical equipment with teammates. Having one player with smokes, another with stuns, and another with a heartbeat sensor gives your squad versatility.
Stagger your movements when pushing buildings. Having everyone enter at once makes you vulnerable to explosives or ambushes.
Share resources strategically. If someone needs plates or ammo, prioritize keeping your team at full fighting strength.
Develop shorthand communication for common situations. Quick phrases like “rotating left” or “pushing now” reduce confusion in heated moments.
Optimizing Tactical Equipment in Various Scenarios
Your tactical gear choices can make or break your Warzone matches. Smart players adapt their equipment to their environment, team size, and mission objectives.
Solo and Squad-Based Strategies
When playing solo, focus on self-sufficient tactical equipment. Heartbeat Sensors are your best friend, letting you check buildings before entering. This simple check can save your life countless times.
Stun Grenades shine in solo play too. They give you the edge in 1v1 fights when you’re outnumbered by full teams.
For squads, coordination is everything. Split your tactical choices among teammates. Have one player run Smoke Grenades for emergency cover during revives or rotation. Another should carry Stims for quick health boosts during intense firefights.
In Duos or Trios, communication about tactical usage is crucial. Call out “stunning left doorway” or “smoking for rotation” so teammates can capitalize on your equipment usage.
Tactical Decision-Making in Different Terrains
Al Mazrah’s open spaces demand different tactics than Rebirth Island’s tight quarters. In wide-open areas, Smoke Grenades provide crucial cover during rotations across dangerous ground.
Buildings require Snapshot Grenades or Heartbeat Sensors to check corners before pushing. Nothing worse than walking into a camper with a shotgun.
High-ground positions benefit from Flash Grenades to blind enemies trying to push your power position. The 1-2 second advantage is often enough to win gunfights.
Water-heavy areas? Bring Gas Grenades. They force enemies out of the water where movement is slower, making them easy targets.
Tactical Stance (press V on the PC or down on the D-pad for the console) works beautifully in building-heavy terrains, giving you speed and better visibility around corners.
Adapting to In-Game Economy and Contracts
Your cash flow directly impacts tactical equipment strategy. Early game, use what you find on the ground. Mid-game, prioritize Buy Station visits to stock up on your preferred tacticals.
Bounty Contracts put you on offense – bring Stuns or Flashes to breach buildings where targets hide. Supply Run Contracts mean moving across dangerous open areas – Smokes become essential here.
When cash is low, loot Supply Boxes efficiently. They often contain tactical equipment that can save you a trip to the Buy Station.
Smart players match their tactical gear to their economic situation. Low on cash? Save your tactics for truly necessary moments. Flush with cash? Be more aggressive with tactical usage, knowing you can restock.


